Saturday, April 5, 2014

March 17-23, 2014 (Saint Patrick's Day, Incense, Teethers and Maypoles!)

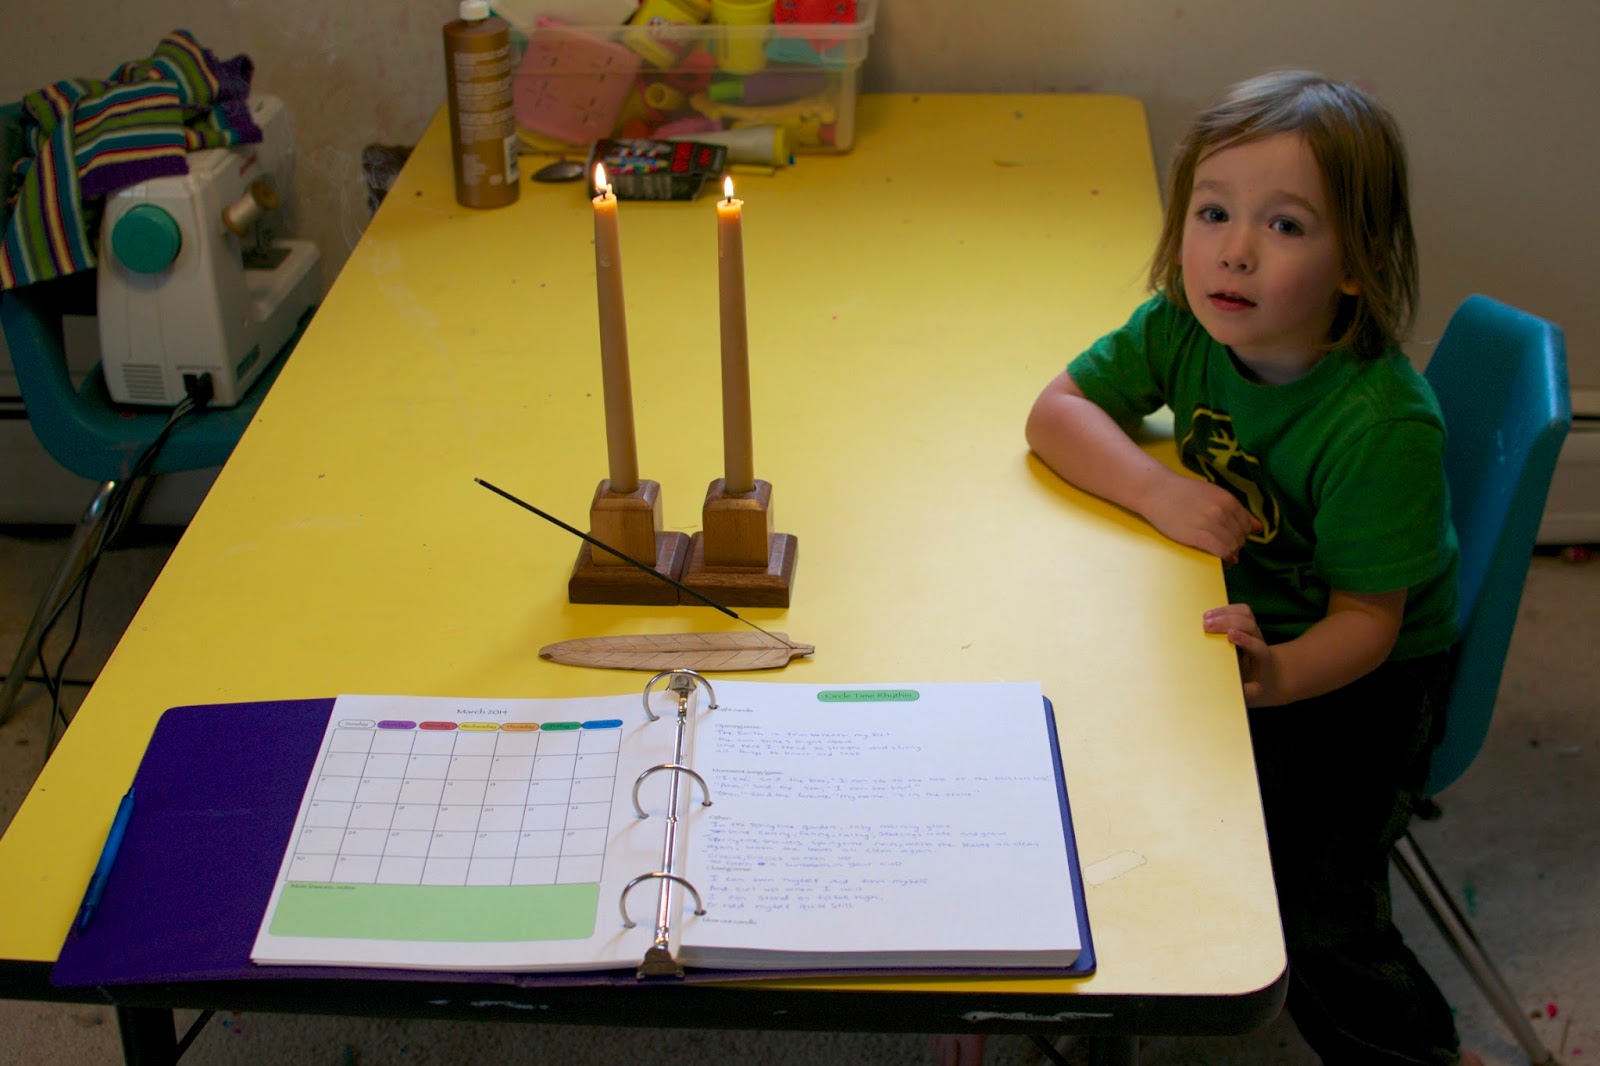
This week we started using scents of the day during circle time and we just love the addition or incense to our ritual. It really does a lot to set the mood for our lesson or activity and makes the room smell magical and peaceful. We light it with our candles at the beginning of circle time, and put it out after blowing out the candles. 


Monday: Night Blooming Jasmine
Tuesday: Cinnamon and Clove
Wednesday: Cedar
Thursday: Magical Copal

Friday: Joyous Rose
Saturday: Myrrh

Sunday: Frankincense

For organization reasons, I decided to sew up a little fabric wall display for our incense sticks. Each scent has it's own pocket and is individually labeled. 


Rainbow Girl setting up the weather and daily gnome 
Because we had been celebrating Saint Patrick's Day in some fashion or another for a couple weeks already, when the actual holiday came, there weren't many specific crafts we had left! Rainbow Girl suggested adding a page to her main lesson book about the day, featuring Saint Patrick, a rainbow, a pot of gold and a shamrock. 

Sugar Bear chose to celebrate by painting a birdhouse. Sounded legit to me.


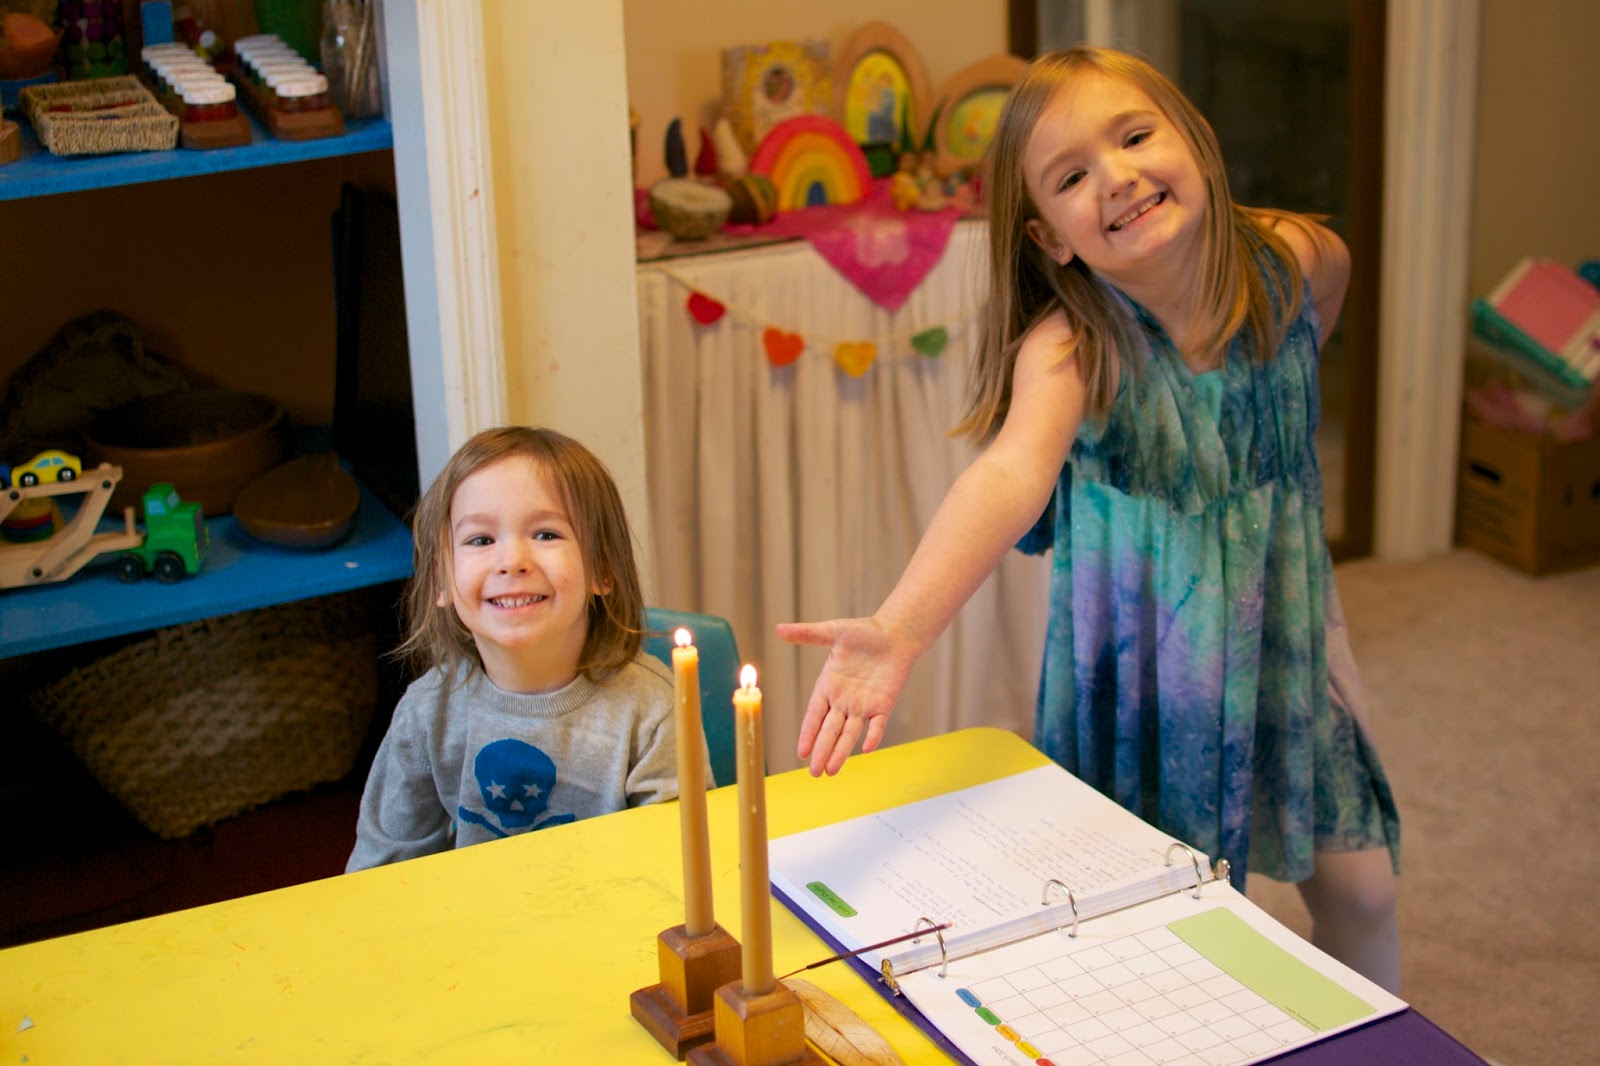
They are so proud of their candles for circle time. Every time, Rainbow Girl asks me to take a picture of the set up and her and Sugar Bear blowing out their candles. Also, I must say, these candles have lasted amazingly well over the course of the year. We'e lit them 3-4 times a week since September for the length of our circle time and we have just started to make a dent in them! Hooray for beeswax!


While the kids worked on their activities, I made these super adorable wrap scrap teether "bunnies" for a Nursery Toys swap. I wrote a separate bloggy if you're interested in making them.


Rainbow Girl made tiny fairy pants out of a scrap from the wrap pieces.


This week, I was really an over achiever on completing my items for craft swaps. (Mostly very far in advance too.) It felt pretty good to be ahead of the game.

On Thursday, I made these adorable Maypoles for a May Day swap. I wrote about them here.


Wooden, Silk, and Felt Maypole Sets

I love the month of May. I always have. The world is so colorful and there are rainbows everywhere! When my eldest babes were both born in the month of May, my love for the month grew even more. When my festival swap group opened up a swap for May Day, you can bet that I was one of the very first to sign up. 

I decided on making Maypoles. My supplies used were:

Birch rounds (large for the bases, mini for the tops)
Oak Dowels
Silk Ribbons
Peg Dolls
Scraps of hand dyed wool felt for the crowns
Scraps of wool felt for petals
Yellow roving for the flower centers

Drill (smaller drill bit and bit matching dowel size)
Saw
Tacky Glue
Hot Glue

Sugar Bear was more than thrilled to see me take out power tools to work on this project. 

The day before, I crowned the peg dolls using scraps of hand dyed felt I had left over from another project. I attached the simple crowns with tacky glue.

The first step in assembly was sawing the dowels down to the height that I wanted the poles to stand. 

I then drilled small holes in the center of each birch round, about half of the way through as a pilot hole and then drilled the larger hole for the dowel to fit in. I performed the same process on the mini rounds that I planned to use to top the poles.


I cut the ribbons to length, and hot glued them to the top of the pole. While that glue was still pliable, and after adding an additional smidgen of hot glue, I put the wooden topper piece on. My kids found a wooden ball with a perfect sized hole already drilled in it in our wood scrap bucket, so we used that for our personal Maypole. The other Maypoles were topped with mini birch rounds.


I was going to declare them complete at this point, but after referencing the drawing that Rainbow Girl had made for me to use as inspiration, I saw that I was missing something important! That was when we added the flowers on top, and I am so glad we did. They really finish the piece beautifully. 


The flowers were quite simple. I just cut out petals of varying sizes and glued them to the rounds, followed by a poof of yellow roving that I had mildly felted by rolling in my hands. 


Wrap Scrap Teethers ("Bunnies!")

Woven wraps. Jeez-louise I love them. I was introduced to woven wraps a little late in the game with Sugar Bear. He was almost 18 months old when I bought my first woven. I am so excited to have a pretty sizable wrap stash to use with my new squish! :3

When I first saw the idea of wrap scrap teethers, Sugar Bear was well past the need, so I never looked into buying or making one. I knew this time around, I wanted to have one for the new bean. When I signed up for a Nursery Toys Swap in one of my groups, I was inspired to make several. (Along with these adorable Snuggle Dolls!)

About a year ago, I had purchased a pack of wrap scraps to make something out of. I did not know yet what.... and so the gorgeous fabric just sat there, waiting for me to be inspired. Finally, with an idea in mind, it still took a lot of will power to bring my scissors to cut it!! 

I first made a trial piece out of scrap flannel to test on the wooden ring to make sure it was a perfect length, then I summoned my courage, and cut the wrap fabric.


I was making six teething rings, so I cut six pieces of wrap, and six pieces of micro terry for the opposite side. I put the "right" sides together and sewed with the machine almost all the way around, leaving enough room to turn them. 


While I was doing so, Rainbow Girl was making tiny fairy pants out of the wee bit of remaining wrap fabric.


After turning them, I ironed the seams flat and stitched all the way around again, closing the hole.


After they were all sewn, I looped them around a three inch wooden ring and pulled tight.


Sugar Bear exclaimed "BUNNIES!" when he saw this pile of teethers and began hip- hopping them around.