Tuesday, March 25, 2014

March 10-16, 2014 (Spring Weather, Snuggle Dolls, Flower Fairies, Wet Felted Eggs, Cave Playmats)

Although Spring didn't officially begin until the following week, we in Virginia got our first real delicious taste of the warm weather, and we made sure to take full advantage of it. We went outside right after breakfast and played for a while. I worked on writing shipping labels for swaps, and eventually Sugar Bear and Daddy went to work on one of the cars and Rainbow Girl and I had circle time. 


Rainbow Girl looks so sweet doing the movement verse in our circle time that I had to take line by line pictures. 

"I see!" Said the Bee. "I can see to the top of the tall tall tree!'

"Ah!" Said the Star. "I can see far!"

"Oh!" Said the Gnome. "My home is in the stone."


The next day, I worked on completing some snuggly dolls for a nursery toy swap that I am in. I wrote a tutorial on how to make them, if you are interested in the process.


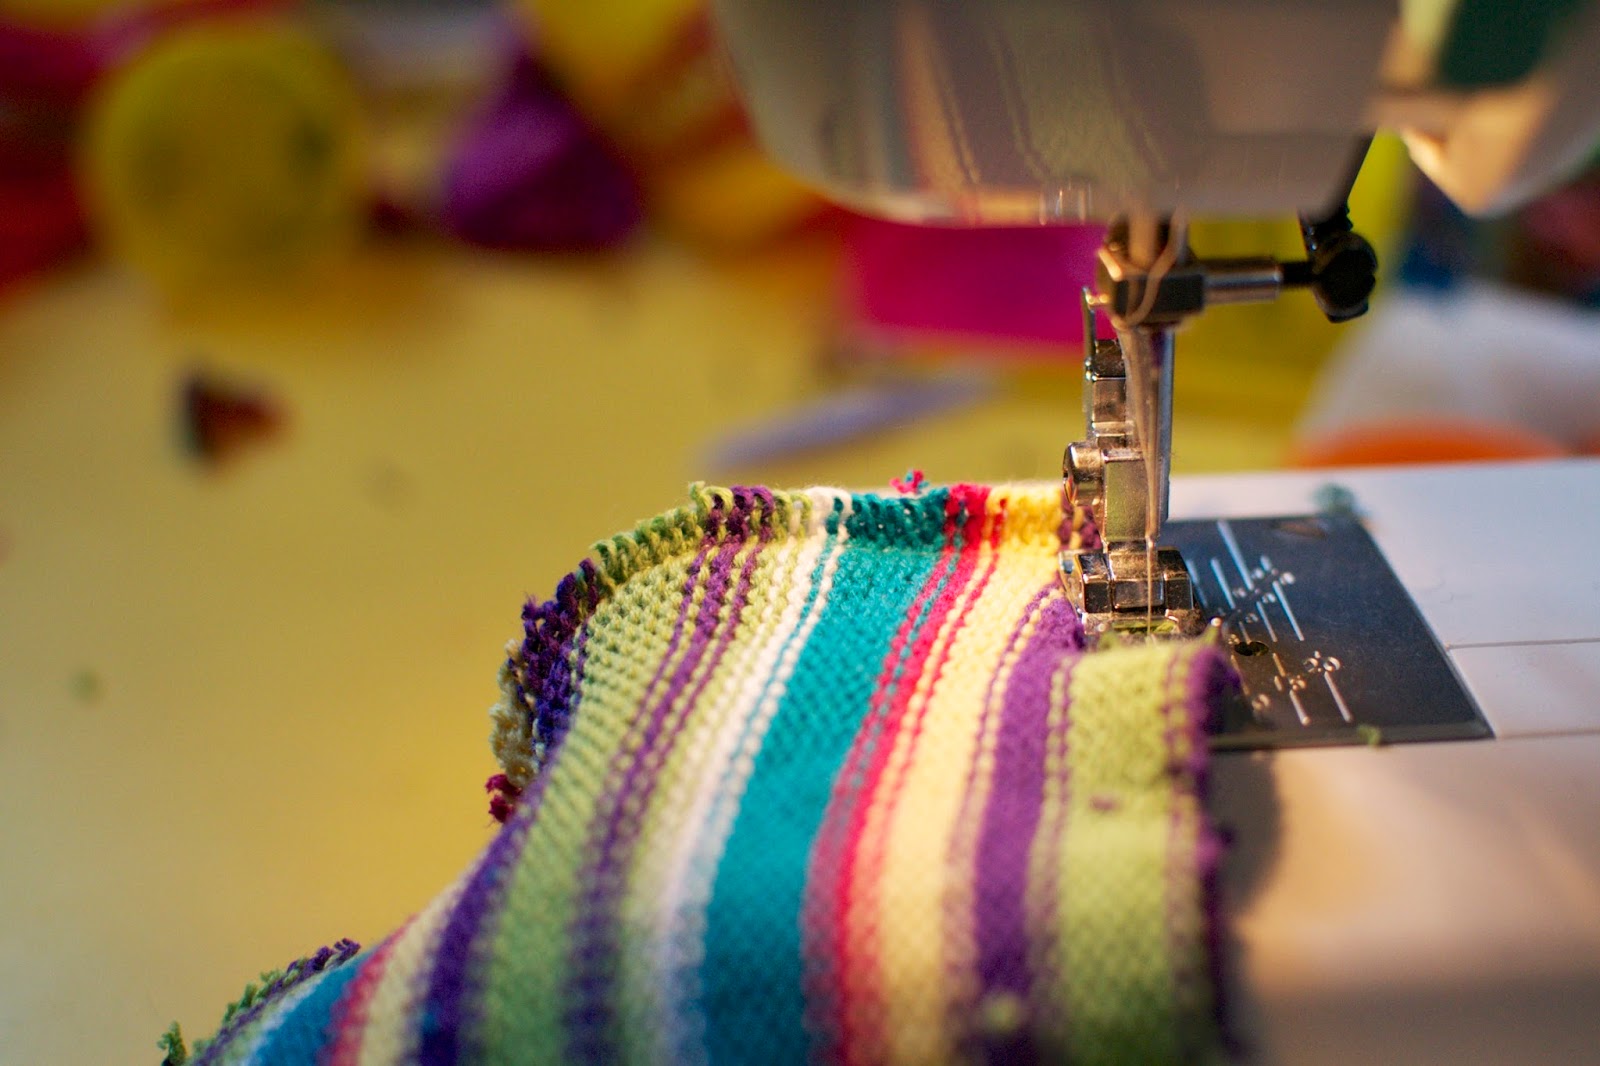
While I was working on the dolls, Sugar Bear found a piece of scrap fabric and requested that I make him a coat out of it. Since I already had the sewing machine out, I went ahead and did two lines of stitching on it, making sleeves. He is quite pleased with it.


Sugar Bear with one of the completed dolls.

Later that day, we received a package of items from the spring time animal children's swap that the kids participated in. You may recall that my children made mama birds and nests with eggs to send in for this swap. They were very pleased with everything that they got in return.


Rainbow Girl has been requesting to make little flower fairies. She purchased one at the Waldorf Holiday Bazaar that she has loved and taken car of for months, but wanted her to have some friends. I looked closely at the handmade doll to see what she was made of and off to Michaels Crafts we went. 

The dolls are made out of one pipe cleaner, one wooden bead for the head, some wool locks for hair, two feathers for wings, a lovely thready yarn for her dress bodice, and a false flower for her dress bottom. 

For the false flowers, I made sure to pick flowers that did not have plastic "veins" on them and that were attractive from all sides. 

Her original doll has an acorn hat, but as it is the end of winter here, there were very few acorns to find outside. Rainbow Girl suggested that we needle felt the acorn tops, and she made them all on her own.


After the first three were completed, Rainbow Girl suggested that we go outside for dinner and for the Fairies to "have an explore."


She had an amazing time taking them all around the yard and going into a fairy imagination land with them. She told many wonderful stories!


That night, I went over to one of my dearest friend's new homes for adult craft night. You may recognize some of her toys from previous posts as she is the mama who hosts Playgarden and many other events that we have attended. She lived in one house when we met her, moved to the farm for a spell, and has now moved back to civilization. Although the farm was a magical place, we love that she's back, closer to everyone.


For craft night, we made wet felted eggs and needle felted rabbits. It was super fun to have adult conversation and do crafts that I love with great friends. 


The following morning, I wet felted even more eggs, but with the children. They loved it. We set aside three for a children's egg swap that they are signed up for.


My little embroiderer decided to embroider eggs for her share of the swap.


Through the week, whenever we were outside playing, I worked on needle felting these delightful cave playmats for yet another swap that I am signed up for. This one in particular is for woodland animals, and I am in the "shelter" group. I absolutely adore how they turned out. 

The base of each of these playmats is a section of a felted wool sweater. I began by designing the ground details, generally starting with a brown or moss color and defining the water area. Then, separately, I made the cave by needle felting it flat, leaving the ends unfelted so that they would attach well to the mat. when the cave was comfortably thick, I rounded it and started attaching it to the playmat, using needle felting. Once attached, I added more "grass" to further attach everything and make the ground look more natural. 


Wet Felted Eggs

I just can not get enough of wet felting eggs and felt I should write a blog about it! The process is so easy that it can be done by a small child, and the results are really quite beautiful. 


To begin, you must have an egg to wrap around- whether that be a wooden egg, or a plastic egg- both work. (However, you must take more care when using the plastic eggs because they tend to open up in the squeezing process, resulting in less of an egg shape.) Wet felted eggs can be made without an egg, using lots of roving, but for the purpose of this blog, we are sticking with wet felting over an existing egg.

Take your egg and wrap a nice amount of roving, length wise around your egg a few times. (Knowing that this color will not be showing, unless you cut the egg off, and in that case, it will be the inner color.) Then take more roving and wrap the egg width wise a few times. Take care to wrap pretty tightly. Continue this process until you think the egg has enough wool covering the egg, with no this spots, and gives approximately 3/4 inch- 1 inch when squeezed. 

The next step is the fun part! With my children, I did this part over our water table. First, I squirt warm to hot water (watch the temperature with little ones!) all over the egg, and then squirt about a half of a teaspoon of soap per egg soap (I personally use Dawn dish soap). Begin with gentle squishing, using rounded hands, careful not to move the roving around too much until the fibers begin to stick to each other. It is at this point that I generally hand all the work over to Sugar Bear, my 3 year old. He squishes the heck out of it, all over, until the fibers really start to get tight. 

Occasionally, more water and soap needs to be applied.


Once they are nice and tight all over, I then rinse them off with cold water. Don't worry about getting every last smidgen of soap off, just most of it. I then put them in a pair of nylons, tying knots between the eggs if I made multiple, and throw them in the dryer with some laundry for a full cycle on high heat. 

Yes, the wooden eggs and the plastic eggs are fine in the dryer. I have done both now, and neither had any warping or issues with the heat. 

When they come out of the dryer, they are so nice and tight! At this point, you can keep them like they are, with the egg inside, or you can cut the egg out and stitch around the edge if you want. A very big hole does not need to be made to get the egg out. At the beginning of the blog, you can see pictures where a dear friend cut out the egg and made baskets with the halves! 

I plan to make several for their Easter baskets for putting special little treats inside. 

This egg, pictured below, has been lovingly named "birdie".


Tuesday, March 18, 2014

Waldorf Inspired Snuggle Dolls For Wee Ones (Using Upcycled Materials)

I came into this project with the goal of designing a doll that was beautiful, that could be made relatively simply, and would use some of the project sweaters I have in my fabric stash. I made several wool dolls for a Nursery Toy swap and then a few custom cotton dolls later. Pictured in my tutorial is one of the cotton dolls. 

This pattern can be used with sweater scraps or with regular fabrics, however a wee bit more hemming may be necessary for the hat if you are using a fabric with an unfinished edge.

This doll took me about twenty minutes to make, but it was also the seventh doll I have made the same way.

To begin, collect your materials. 
-1 large rectangle (or two squares) of your main fabric (mine is the width of an adult size medium sweater, and half the height)
-1 smaller rectangle for the hat (preferably with a finished edge- or you can hem it yourself)
-1 square of a skin colored fabric for the head (mine is stretchy hemp fabric, I found slightly stretchy to be helpful in forming the head)
-Stuffing- Wool or fabric scraps, batting, or roving
-Thread


Step 1
Either fold your rectangle in half or place your two squares wrong sides together to cut out the basic doll shape, two arms and two legs. (With the other dolls I made, I also cut a rounded up area in between the legs in the middle, but as I knew this was going to a little girl who primarily wears dresses, I kept it straight across.)
Looking back at this, I notice that this is almost identical to cutting out a cloth diaper!


Step 2
Place your right sides together and sew around the doll leaving the neck open 2-3 inches for turning, stuffing and putting the head in.
(Give your little kid play doh to play with because they woke up from their nap.)


Step 3
Turn doll body right side out.


Step 4
Form head. I balled up wool scraps and then wrapped it in roving. A good head size or these dolls is about palm width,


Step 5
Place doll head on wrong side of head fabric.


Step 6
Gathering the fabric at the neck, pull the ends of the fabric, piece by piece, to tighten the head,


Step 7
Wrap thread around neck many times (10-20?) and then tie off.


Step 8
Cut off excess fabric.


Step 9
Cut up ugly wool sweater that you have decided that you truly will never make anything out of into smallish squares and stuff your doll lovingly.


Step 10
Time to attach the head! Place the head in the neck hole and begin to stitch up the shoulders to meet the head, eventually stitching into the head. Turing under the neck sweater fabric, take a stitch of that, and then a stitch into the head, right above where you wrapped it with thread. Continue this process until the head is completely connected and the shoulders are sewn up.


Step 11
Wrap your hat fabric around your head to decide how wide it needs to be, leaving room for seam allowance. Fold your hat fabric in half (with the finished edge on the bottom, if applicable) and cut a curve in the fabric.


Step 12
Right sides together, sew the hat on the curved edge, and then turn it right side out.


Step 13
Catching a bit of the head and the edge of the hat, stitch all around the circumference of the hat, and tie a knot when you are done, cutting off excess thread.


Step 14
TaDa! You've made a snuggle doll!


Step 15
Ask an adorable passerby to hold your fresh doll for a picture.