I came into this project with the goal of designing a doll that was beautiful, that could be made relatively simply, and would use some of the project sweaters I have in my fabric stash. I made several wool dolls for a Nursery Toy swap and then a few custom cotton dolls later. Pictured in my tutorial is one of the cotton dolls.
This pattern can be used with sweater scraps or with regular fabrics, however a wee bit more hemming may be necessary for the hat if you are using a fabric with an unfinished edge.
This doll took me about twenty minutes to make, but it was also the seventh doll I have made the same way.
To begin, collect your materials.
-1 large rectangle (or two squares) of your main fabric (mine is the width of an adult size medium sweater, and half the height)
-1 smaller rectangle for the hat (preferably with a finished edge- or you can hem it yourself)
-1 square of a skin colored fabric for the head (mine is stretchy hemp fabric, I found slightly stretchy to be helpful in forming the head)
-Stuffing- Wool or fabric scraps, batting, or roving
-Thread
Step 1
Either fold your rectangle in half or place your two squares wrong sides together to cut out the basic doll shape, two arms and two legs. (With the other dolls I made, I also cut a rounded up area in between the legs in the middle, but as I knew this was going to a little girl who primarily wears dresses, I kept it straight across.)
Looking back at this, I notice that this is almost identical to cutting out a cloth diaper!
Step 2
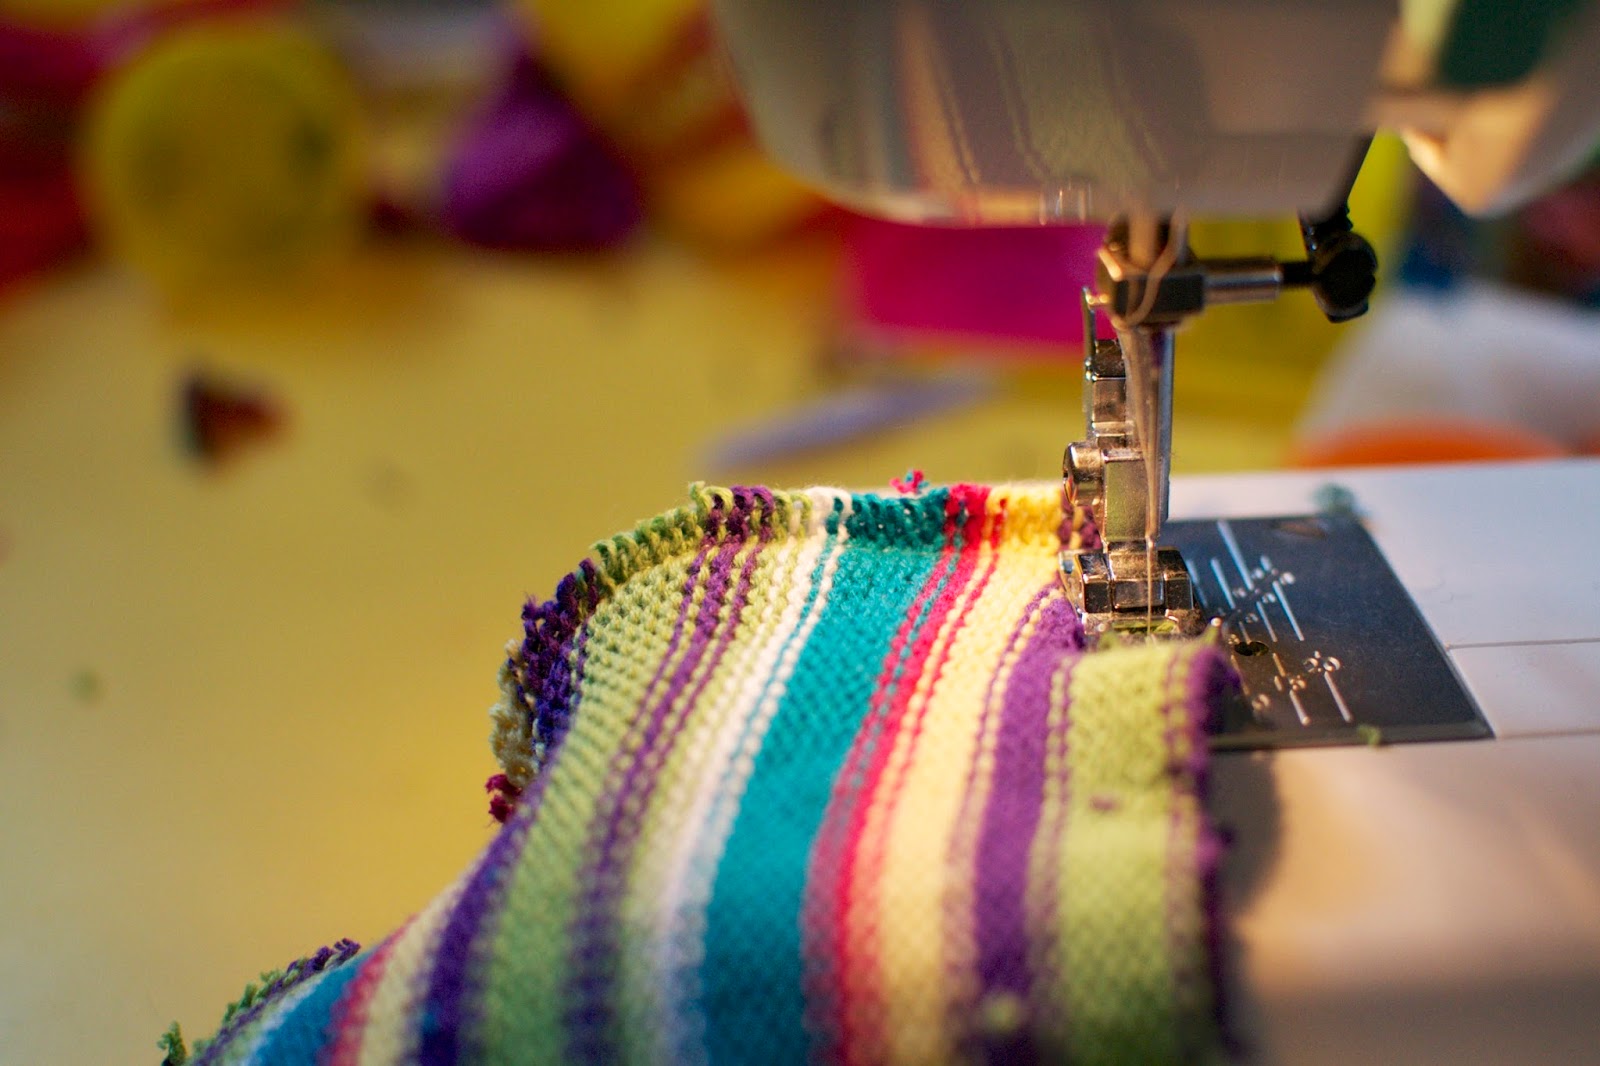
Place your right sides together and sew around the doll leaving the neck open 2-3 inches for turning, stuffing and putting the head in.
(Give your little kid play doh to play with because they woke up from their nap.)
Step 3
Turn doll body right side out.
Step 4
Form head. I balled up wool scraps and then wrapped it in roving. A good head size or these dolls is about palm width,
Step 5
Place doll head on wrong side of head fabric.
Step 6
Gathering the fabric at the neck, pull the ends of the fabric, piece by piece, to tighten the head,
Step 7
Wrap thread around neck many times (10-20?) and then tie off.
Step 8
Cut off excess fabric.
Step 9
Cut up ugly wool sweater that you have decided that you truly will never make anything out of into smallish squares and stuff your doll lovingly.
Step 10
Time to attach the head! Place the head in the neck hole and begin to stitch up the shoulders to meet the head, eventually stitching into the head. Turing under the neck sweater fabric, take a stitch of that, and then a stitch into the head, right above where you wrapped it with thread. Continue this process until the head is completely connected and the shoulders are sewn up.
Step 11
Wrap your hat fabric around your head to decide how wide it needs to be, leaving room for seam allowance. Fold your hat fabric in half (with the finished edge on the bottom, if applicable) and cut a curve in the fabric.
Step 12
Right sides together, sew the hat on the curved edge, and then turn it right side out.
Step 13
Catching a bit of the head and the edge of the hat, stitch all around the circumference of the hat, and tie a knot when you are done, cutting off excess thread.
Step 14
TaDa! You've made a snuggle doll!
Step 15
Ask an adorable passerby to hold your fresh doll for a picture.


This is WONDERFUL! And how lucky you had such a cutie to model it.
ReplyDelete